

At Living Good Candle Co., we pour beeswax candles every single day. So when we say this guide is tested, we mean it. Not “we read about it once.” Not “we tried it for a blog post.” We mean this is the actual method we use, simplified for your kitchen counter.
If you’ve been searching for how to make beeswax candles, here’s what makes this guide different: we pour candles every day, not just once for a blog post. If you’re also wondering whether beeswax candles are safe to burn in the first place, we’ve covered that here.
What You’ll Need to Make Beeswax Candles at Home
Beeswax candle making doesn’t require much. Here’s the short list:
- Beeswax. A microwave-safe wax pouch is the easiest way to control melting without babysitting a pot. (A stovetop double boiler works too, if you’d rather melt it that way.)
- A wick. Cotton, pre-tabbed, sized to your container. More on this below, since it’s the step most beginners get wrong.
- A microwave-safe container or the wax pouch itself. Something you can heat safely and pour from.
- A jar to pour into. This is a great way to reuse an old candle jar, a mug you don’t use anymore, or any small container sitting in your cabinet. It’s a small way to get more life out of something you already own. Just make sure it’s heat safe and designed to hold a burning cable.
- Oven mitts or a towel. The wax gets hot fast.
If gathering all that sounds like more effort than you wanted, our Eco Candle Making Kit takes care of the wax and wick hardware for you: 12 oz of scented beeswax of your choice, 6 cotton wicks, 6 wick stickers, 3 wick holders, and safety labels included. Just add a jar you already have.
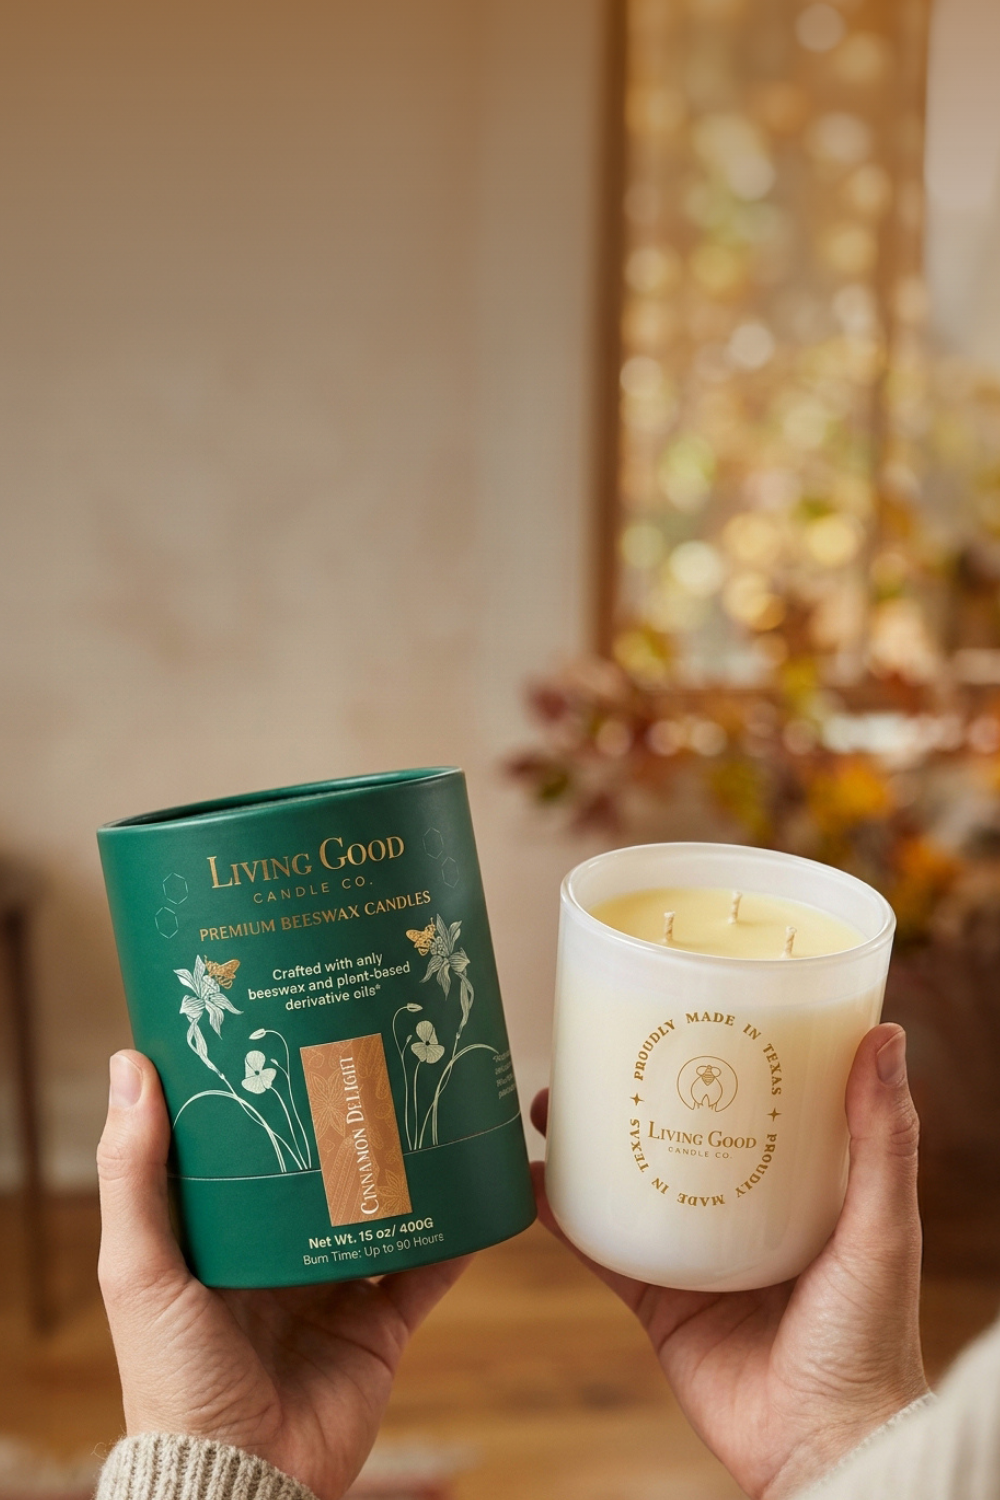
Already own one of our 15 oz candles? That jar is the perfect size for a refill. Once it’s burned down, pour hot water into the empty jar to loosen the leftover wax, then wipe it clean. It’s ready to refill and reuse as many times as you’d like.
Step by Step: Melting, Pouring and Setting
- Insert the wick. Place your wick into the jar first, before you touch the wax. Secure it with a wick sticker at the bottom, centered and standing straight.
- Melt the wax. Microwave the wax pouch for 2 to 3 minutes, depending on how strong your microwave is, until fully melted. Prefer the stovetop? Set the pouch (or your beeswax) in a heatproof bowl over a pot of simmering water and stir until melted, about 10 to 15 minutes.
- Let it sit. Give the melted wax 5 to 10 minutes to cool slightly before pouring. This helps it set more evenly and is easier to handle safely.
- Pour. Carefully pour the melted wax into your jar, leaving a small gap at the top. The pouch’s spout makes this easy to control.
- Center the wick. Lay a wick holder or a chopstick across the top of the jar and thread the wick through it, so it stays centered and upright while the wax sets.
- Let it set. Beeswax cools slower than other waxes and can take several hours to fully harden. Resist the urge to move it or trim the wicks early.
- Trim the wicks. Once fully set, trim to a quarter inch before the first burn.
That’s the whole process, start to finish, in under five minutes of active work.
Getting the Wick Right (the Most Common Beginner Mistake)
Wick size is the single biggest reason a first candle disappoints. Too thin, and your candle tunnels down the middle instead of melting evenly. Too thick, and you get a smoky, oversized flame.
Here’s a simple way to figure out how many wicks you need: measure the diameter of your jar in inches, then divide by 1.5. Always round up. A 4-inch jar, for example, comes out to 2.66, which rounds up to 3 wicks.
One more thing worth knowing before you start: jars that are wider at the top than the bottom make centering a wick more difficult, especially on a refill pour. If your container tapers, pay extra attention to keeping the wick straight and centered before the wax sets.
A few rules of thumb:
- Match your wick size to your container’s diameter, not just the volume. Wider containers need thicker wicks.
- Cotton wicks tend to burn more predictably in beeswax. Wood wicks look beautiful but can be trickier to get right on a first attempt.
- Always do a test burn before committing to a full batch. Pour one candle, burn it for a few hours, and check whether the wax pool reaches the edges of the container. If it doesn’t, size up your wick next time.
- Keep the wick centered during the pour. Off-center wicks are one of the most common causes of uneven burning, right alongside wick sizing.
Adding Plant Based Oils for Scent
Once you’re comfortable with a plain pour, scent is the natural next step. At Living Good Candle Co., we scent our candles with Plant Based Oils, blended into the wax before it’s packaged, so a microwaved pouch already has the scent worked in evenly. If you’re scenting your own beeswax from scratch, add Plant Based Oils once the wax has cooled slightly, not straight out of the microwave. Adding scent too hot can burn off some of the fragrance before it ever sets.
Start light. You can always scent a batch more heavily next time, but you can’t take fragrance back out once it’s in.
Common Mistakes and How to Avoid Them
- Skipping the rest time. Pouring right out of the microwave, without letting the wax sit for 5 to 10 minutes, can lead to an uneven set.
- Pouring the wick in after the wax. Always secure your wick first. Pouring wax into an empty jar and adding the wick after leads to a crooked, off-center result.
- Rushing the cure time. Beeswax candles benefit from a full 24 hours to cure before their first burn. It genuinely changes the burn quality.
- Guessing on wick count. Use the diameter-divided-by-1.5 rule instead of eyeballing it. It’s the number one reason a first candle underperforms.
- Reusing a jar for a full refill without checking wick placement. Tapered jars especially make this tricky. Re-center every time.
None of these mistakes ruin a candle permanently. They just mean a second try, and a better one.
Living Good Candle Co.’s Take: Why We Built the Eco Candle Making Kit to Skip the Guess Work
We built our Eco Candle Making Kit because we’ve made every mistake on that list above, more than once, back when we were figuring this out ourselves.
Insert the wick, microwave the wax pouch until it’s fully melted, and pour. The whole thing takes less than five minutes, and wick sizing and wax measurement are already worked out for you. Grab an old jar, a mug from your cabinet, or reuse your old 15 oz candle jar from Living Good Candle Co., no need to buy a new one.
If you’d rather learn the fundamentals hands-on with your own materials, everything above will get you there. If you’d rather skip straight to a candle that burns evenly on the first try, that’s exactly what we built the kit for.
Skip the mess. Shop the Eco Candle Making Kit.